
Common Mistakes To Avoid When Shooting Jewelry
Do you sell jewelry online? If you do, you are in a great company, some of the most prominent jewelry stores are online, and demand for these products is also high.
But how particular are you about professional jewelry photography? Do you ensure that all your products are displayed in the best possible view to the customers?
Selling jewelry online can be more challenging than other products because of its high price and highly picky customer base. Common product photography mistakes can prove to be more than just a hassle. They can force you to reshoot the entire line of products, which will cost you more money and time, but that’s not as significant a loss as the loss of the trust of any potential buyers.
Common Jewelry Shooting Mistakes
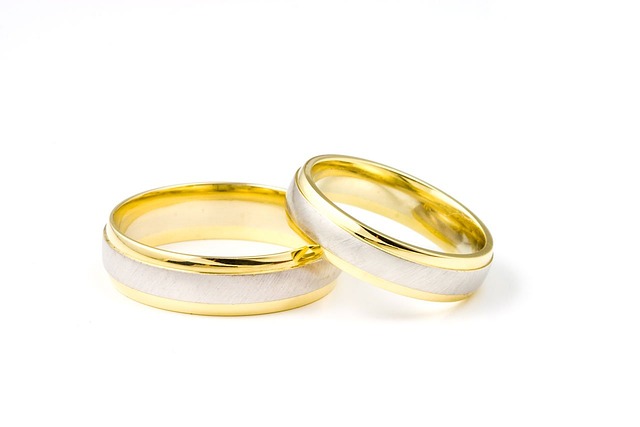
Ensure that all products are clean
Jewelry items are unlike other products and can easily get smudged by the fingers. This is why wearing cotton gloves or using a lint-free microfiber cloth when handling jewelry products is essential.
If you are not careful, you can spend many hours postprocessing and editing images to remove fingerprints caused by the oil from the skin. If your jewelry items are not new, you should consider using a high-quality jewelry cleaner to remove any dirt buildup. Not only jewelry items, but you should also ensure that the camera lens and sensor are clean.
We always use a microfiber lens cloth for cleaning our equipment and have arrangements for cleaning jewelry items at the studio.
Not using the correct professional jewelry photography equipment
The demand for jewelry photography differs significantly from other products because of their smaller size and highly intricate and delicate design. You will miss specific details if you do not use the right equipment for product photography in Atlanta.
A dedicated macro lens for jewelry products is a must. The megapixel count on your camera doesn’t matter if you do not use a macro lens for jewelry photography service. The lens is necessary to make the product appear closer and capture all the required details you want your customers to know.
Apart from a macro lens, appropriate lighting and a tripod are mandatory to take the best shots of jewelry products. We recommend a macro lens with a focal length of 60mm if it’s your first time using such a lens. This is the right focal length because it can easily create half-life-size magnification (0.5x). For our white background jewelry photography, we use more expensive macro lenses that produce life-size magnification (described as 1:1).
Incorrectly displayed products with distractive backgrounds
Whatever kind of jewelry you are trying to capture, putting it against a white background will always outsell any other background combination. We are experts in white background jewelry photography and understand how easy it is to represent your product in the best light by putting it against white backgrounds.
To avoid incorrectly displaying products, ensure you put them at the right point on the table, have enough studio lights to illuminate them properly, and have the equipment to hold them in place correctly. It is easy to create a stand with some wood glue to 3 pieces of white cardboard with the studio lights hanging from the top. White backgrounds are essential because they provide a distraction-free view of the jewelry piece. For instance, when the necklace is positioned flat on a white backdrop and photographed from the top, the image perfectly replicates the natural curve of the necklace chain. This is just one of the techniques that we use in professional jewelry photography.
Not setting the camera correctly
If the jewelry photography service you hired uses a camera with an auto setting, you will not get the best quality images. For jewelry products, it is not the ideal setting. You must use the camera in manual mode. This mode gives you complete control of your camera settings so you can take full advantage of Flash, white balance, ISO, aperture, and other features.
While the actual camera setting that might work for you depends on several factors like the size of the product, level of design intricacy, and angles to be captured, there are some standard setting adjustments.
We recommend using the following settings in the manual:
1. Set the white balance to Flash
2. Set the aperture to either F11 or F16
3. Set the ISO to the lowest setting, which is usually ISO 100
4. Synch the shutter speed with the Flash (generally shutter speed of 1/180 for most cameras)
With these manual mode camera settings, you can capture the jewelry items in their correct color and exposure. If you feel that the images have underexposure, you can increase the ISO value or increase the output on the studio lights.
Conclusion
We hope these professional jewelry photography tips will help you avoid common mistakes when shooting jewelry. For professional product photography in Atlanta, you can rely on EtherArts Photography.